Installation & Setup
Get AsyncMQ up and running in minutes—no arcane dark magic required.
1. Supported Install Methods
a. PyPI (pip)
Install from PyPI:
pip install asyncmq
b. Poetry
Add to your Poetry project:
poetry add asyncmq
Tip
Pin to a minor version for stability, e.g., asyncmq~=0.3.2.
2. Docker & Docker Compose
Spin up AsyncMQ with your favorite backend in a containerized environment.
a. Example docker-compose.yml
version: '3.8'
services:
  redis:
    image: redis:7-alpine
    ports:
      - "6379:6379"

  asyncmq-worker:
    image: python:3.11-slim
    environment:
      # Point to custom settings (optional, see below)
      - ASYNCMQ_SETTINGS_MODULE=project.settings.AsyncMQSettings
    volumes:
      - ./:/app
    working_dir: /app
    command: ["asyncmq", "worker", "start", "default", "--concurrency", "4"]
    depends_on:
      - redis
Launch it all with:
docker-compose up -d
The command its straightforward and if you wonder "but how does AsyncMQ knows about which backend to run?" type of thing,
that is because AsyncMQ has the concept of settings where you can override the backend to run
the one at your choice and using the ASYNCMQ_SETTINGS_MODULE to start your application.
You can read more about the ASYNCMQ_SETINGS_MODULE in the settings section for more details.
3. Configuration Overrides (Custom Settings)
By default, AsyncMQ loads its configuration from asyncmq.conf.global_settings.Settings, which includes sensible defaults such as:
- backend:
RedisBackend(redis_url_or_client="redis://localhost") - worker_concurrency:
10 - logging_level:
INFO - debug:
False
To override these defaults, define a custom settings class in your project. For example:
# project/settings.py
from asyncmq.backends.redis import RedisBackend
from asyncmq.conf.global_settings import Settings


class AsyncMQSettings(Settings):
    # Use Redis at a custom URL
    backend = RedisBackend(redis_url_or_client="redis://redis:6379/0")
    # Increase default worker concurrency
    worker_concurrency = 5
    # Enable debug mode for verbose logging
    debug = True
Then set the ASYNCMQ_SETTINGS_MODULE environment variable to point at your settings:
export ASYNCMQ_SETTINGS_MODULE="project.settings.AsyncMQSettings"
Now all AsyncMQ CLI commands and API consumers will pick up these overridden values.
4. CLI Helpers & Taskfile
AsyncMQ ships with a handy CLI. You can streamline common commands by using a Taskfile.yaml)
or whatever helps you streamline common commands, some still love going vintage (like this author) and still use the Makefile
but the advantage of a Taskfile its that is OS agnostic:
version: '3'
tasks:
  mq:            # Alias to invoke any asyncmq command
    cmds:
      - asyncmq {{.cmd}} {{.args}}

  worker:
    cmds:
      - asyncmq worker start default --concurrency=${CONCURRENCY:-10}
      env:
        CONCURRENCY: 4

  list-active-jobs:
    cmds:
      - asyncmq job list --queue default --state active
You can add as many commands as you see fit.
5. First Run & Smoke Test
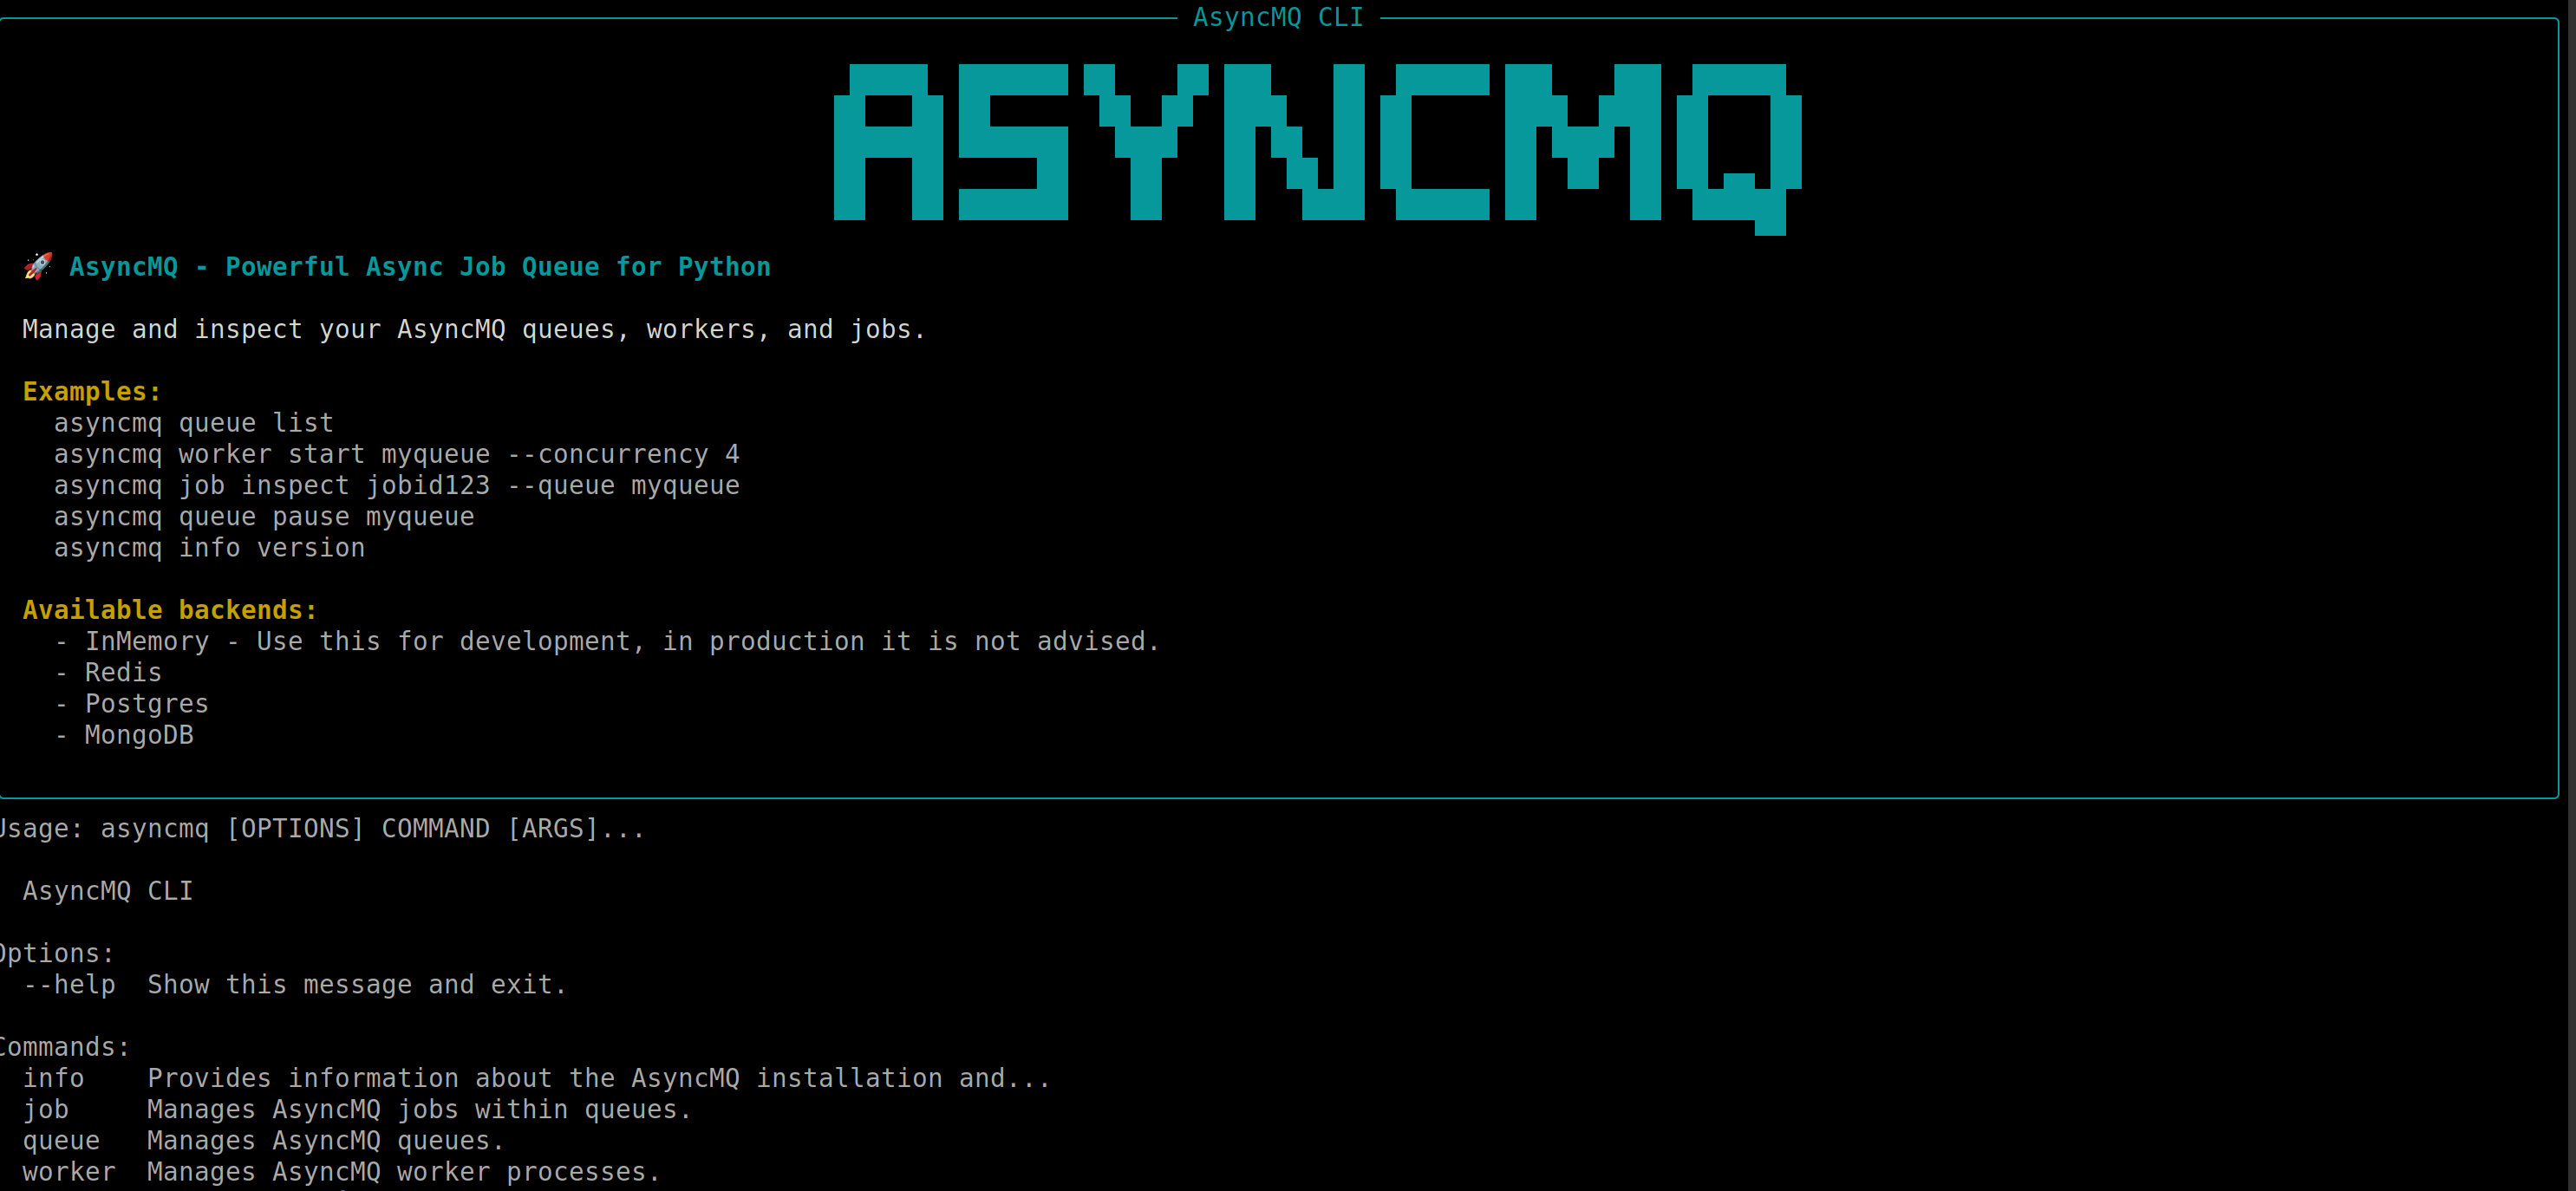
After installation, verify everything is wired correctly:
asyncmq --help
You should see:
Usage: asyncmq [OPTIONS] COMMAND [ARGS]...

  AsyncMQ CLI

Options:
  --help  Show this message and exit.

Commands:
  info    Provides information about the AsyncMQ installation and...
  job     Manages AsyncMQ jobs within queues.
  queue   Manages AsyncMQ queues.
  worker  Manages AsyncMQ worker processes.
You can also do asyncmq directly in the command line and you should see something like this:

Next up: Quickstart. Let's enqueue your first job!